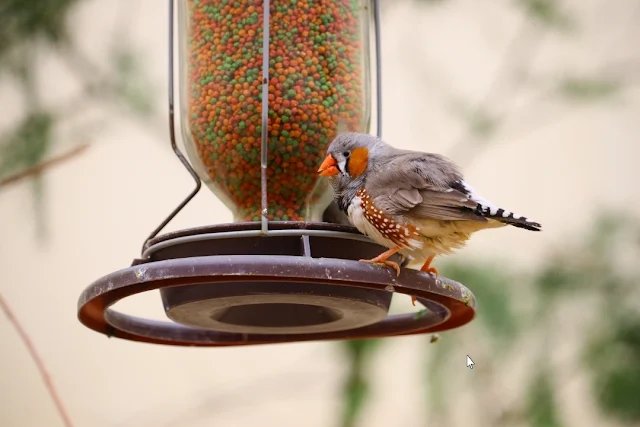
Create Your Own Hummingbird Feeder: A Step-by-Step Guide
When it comes to inviting nature's most enchanting guests into your garden, there's nothing quite like a homemade hummingbird feeder. In this guide, we'll walk you through the steps on how to make a hummingbird feeder, adding a touch of charm to your outdoor space while nurturing a thriving ecosystem. Let's get started on this fun and eco-friendly DIY project!Materials You'll Need:
- A Clean Glass Bottle:
The first step in creating a hummingbird haven is choosing the right bottle. Opt for a clear glass container with a capacity of at least 16 ounces, providing ample space for nectar.
- Feeder Tubes and Ports:
Procure feeder tubes and ports, ensuring they're the appropriate size for your chosen bottle. These components will serve as the landing pads for your tiny, iridescent visitors.
- Decorative Accents (Optional):
To add a personal touch, gather decorative elements like beads, wire, and paint. Let your creativity shine as you design a feeder that complements your garden's aesthetic.
Thoroughly wash the glass bottle with warm, soapy water, ensuring there are no residue or contaminants that could harm the hummingbirds. Rinse it well and let it air dry.
Step-by-Step Guide:
- Clean and Prepare the Bottle:
- Attach Feeder Ports:
Carefully insert the feeder tubes into the ports, ensuring a snug fit. These will serve as the access points for the hummingbirds to feed from.
- Create a Hanger (Optional):
If you'd like to hang your feeder, fashion a sturdy wire into a loop and secure it around the neck of the bottle. Ensure it's balanced and can be hung securely.
- Mix the Nectar:
In a separate container, prepare the nectar using a simple mixture of one part white granulated sugar to four parts water. Boil the water, dissolve the sugar, and let it cool to room temperature.
- Fill the Feeder:
Gently pour the cooled nectar into the bottle, leaving some space at the top to prevent spills. Seal the bottle tightly to prevent any unwanted visitors.
- Add Personal Touches (Optional):
Let your creativity soar by adding decorative elements to your feeder. This step is all about infusing your personality into a functional work of art.
Video For Improvement:
Tips and Tricks:
- Place your feeder near flowers and shrubs to provide additional sources of nectar and shelter for hummingbirds.
- Clean your feeder with hot, soapy water and a bottle brush to prevent mold and bacteria buildup.
- Avoid using red food coloring in your nectar mixture, as it can be harmful to hummingbirds.
- Be patient! It may take some time for hummingbirds to discover your feeder, but once they do, you'll be treated to their charming presence.
Crafting a hummingbird feeder is a delightful project that combines creativity with a love for nature. By following these steps, you'll create a haven for these iridescent marvels, bringing joy and life to your garden. Remember to clean and refill your feeder regularly to keep your winged friends coming back for more. Happy hummingbird watching!


"Hello there,
Thank you for Comment To "News Flash Nation"! Your thoughts and opinions matter to us. Feel free to share your insights, questions, or reactions about our articles. We're excited to hear from you and foster meaningful discussions. Your comments contribute to the vibrant community we're building. Let's keep the conversation flowing!
Best regards,
"News Flash Nation Team"
https://newswavehubs.blogspot.com/